date
Dec 12, 2024
type
Page
status
Published
slug
uclai-c2-image-to-image
summary
image to image with example of biological experiment.
tags
Tutorial
Teaching
ComfyUI
UCL
category
Knowledge
icon
password
URL
About the Image to image workflow:
- Use image as conditional input to control the output.
- Learning the composition, sematic meaning, texture, style from the input image.
📝 1.Image to image basic principle: Overdraw
📑 Reference:https://www.comflowy.com/advanced/image-to-image
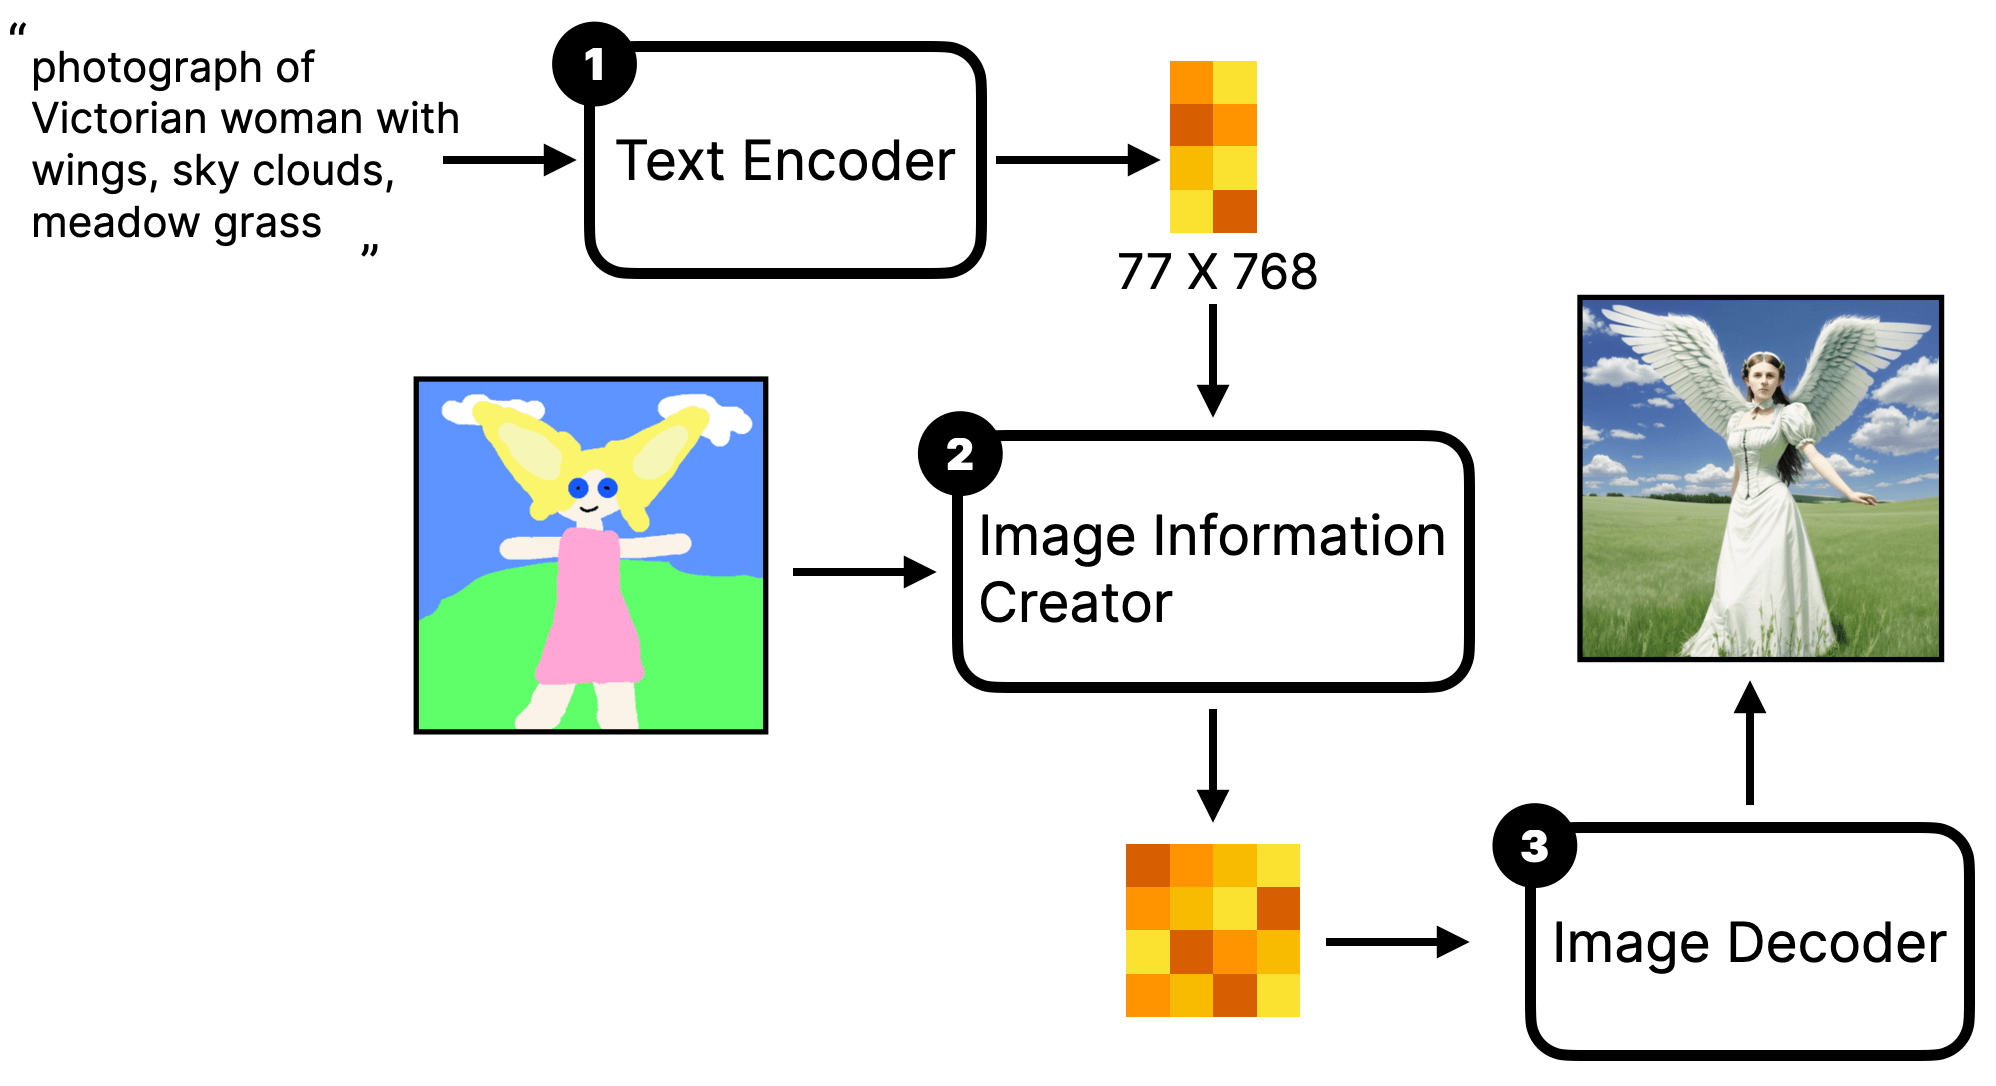
First, remember the Stable Diffusion principle. The image-to-text process denoises a random noise image into a new image. Image-to-image is to first add noise to the input image and then denoise this noisy image into a new image using the same method. The rough flow is like this. Its corresponding workflow is generally called Simple img2img workflow.
If we use the analogy of sculpture, the process is similar to the sculpture artist (model) taking a statue (initial input image), and sculpting a new one (output image) based on your instructions (Prompt).

🖼️ 2.Image to image basic workflow in ComfyUI:
2.1 Basic implementing
You could simply built up a templates of image to image in comfyui


Then you should be able to see this workflow. If not, you can mannuly import the json file attach.

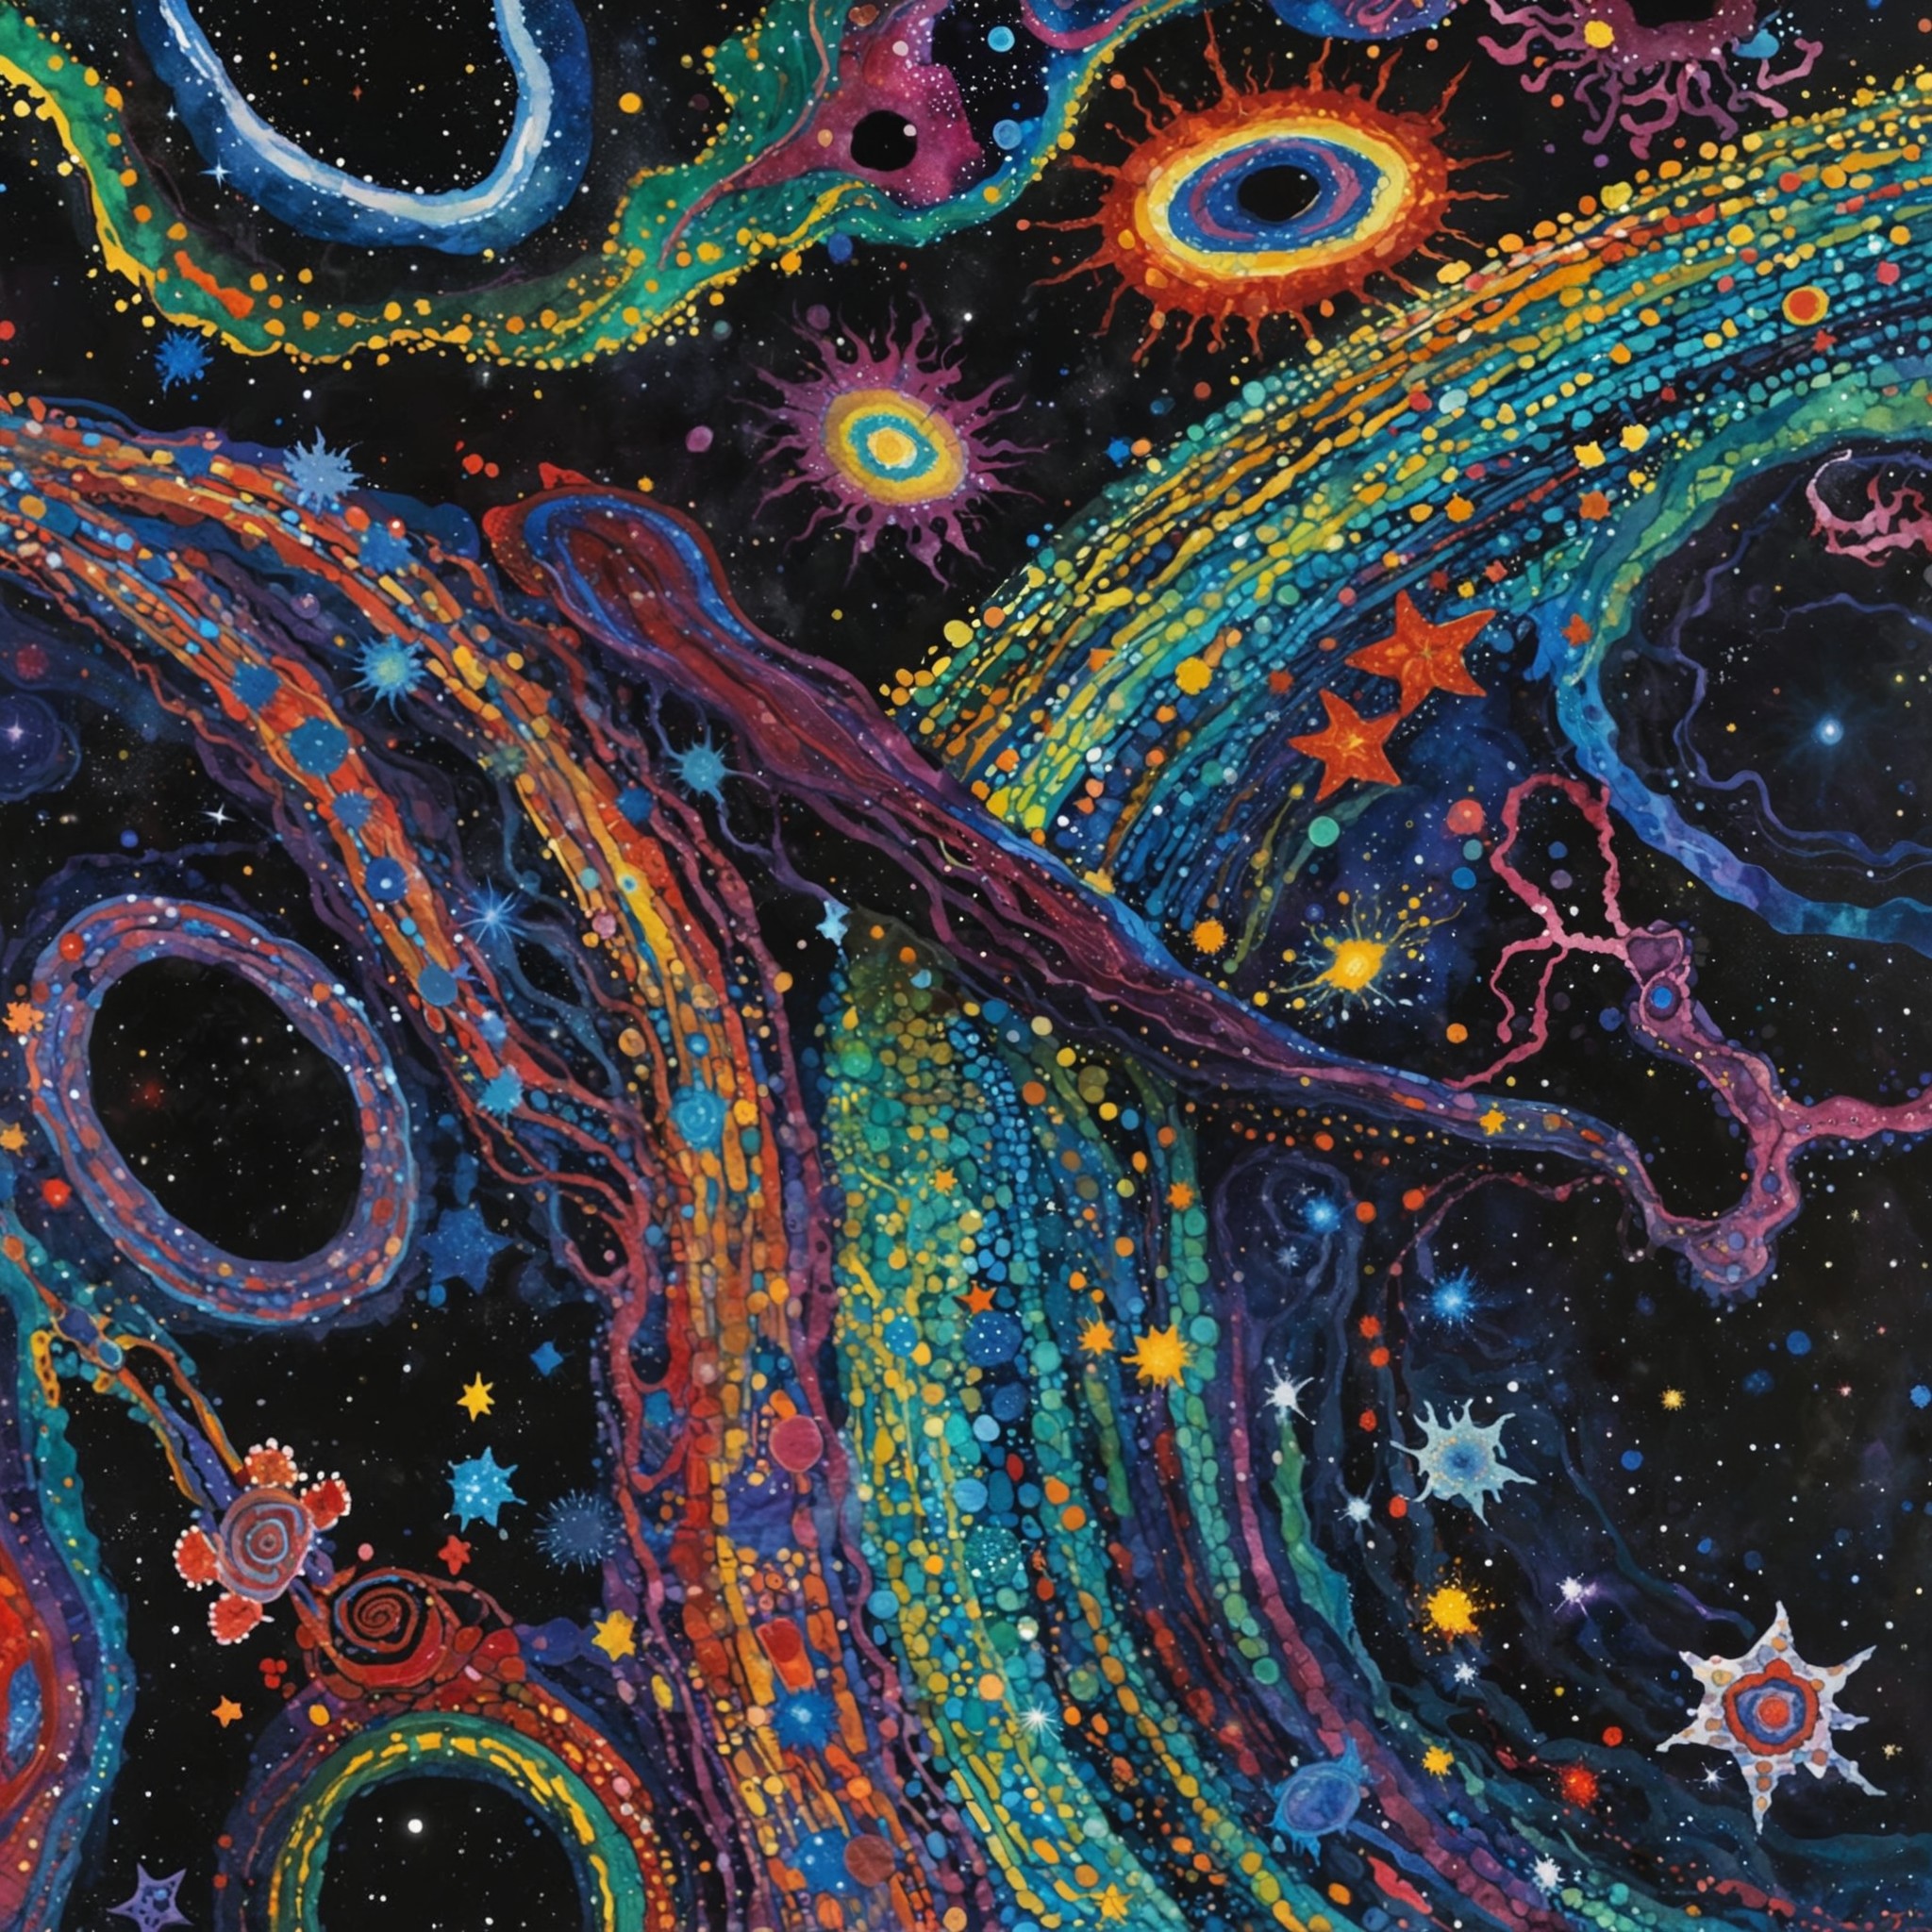
Let’s take this Image from my slime mold bio experiment as an input example.

You could begin with these prompt and parameters:
- prompt: close detailed satellite image of city urban area of a renewable energy city ha (solar power farm, wind power farm and internet data center in top view:1.2)
- sampling steps: 20
- Denoising Strength: 0.5
2.2 Detail parameters finetuning.
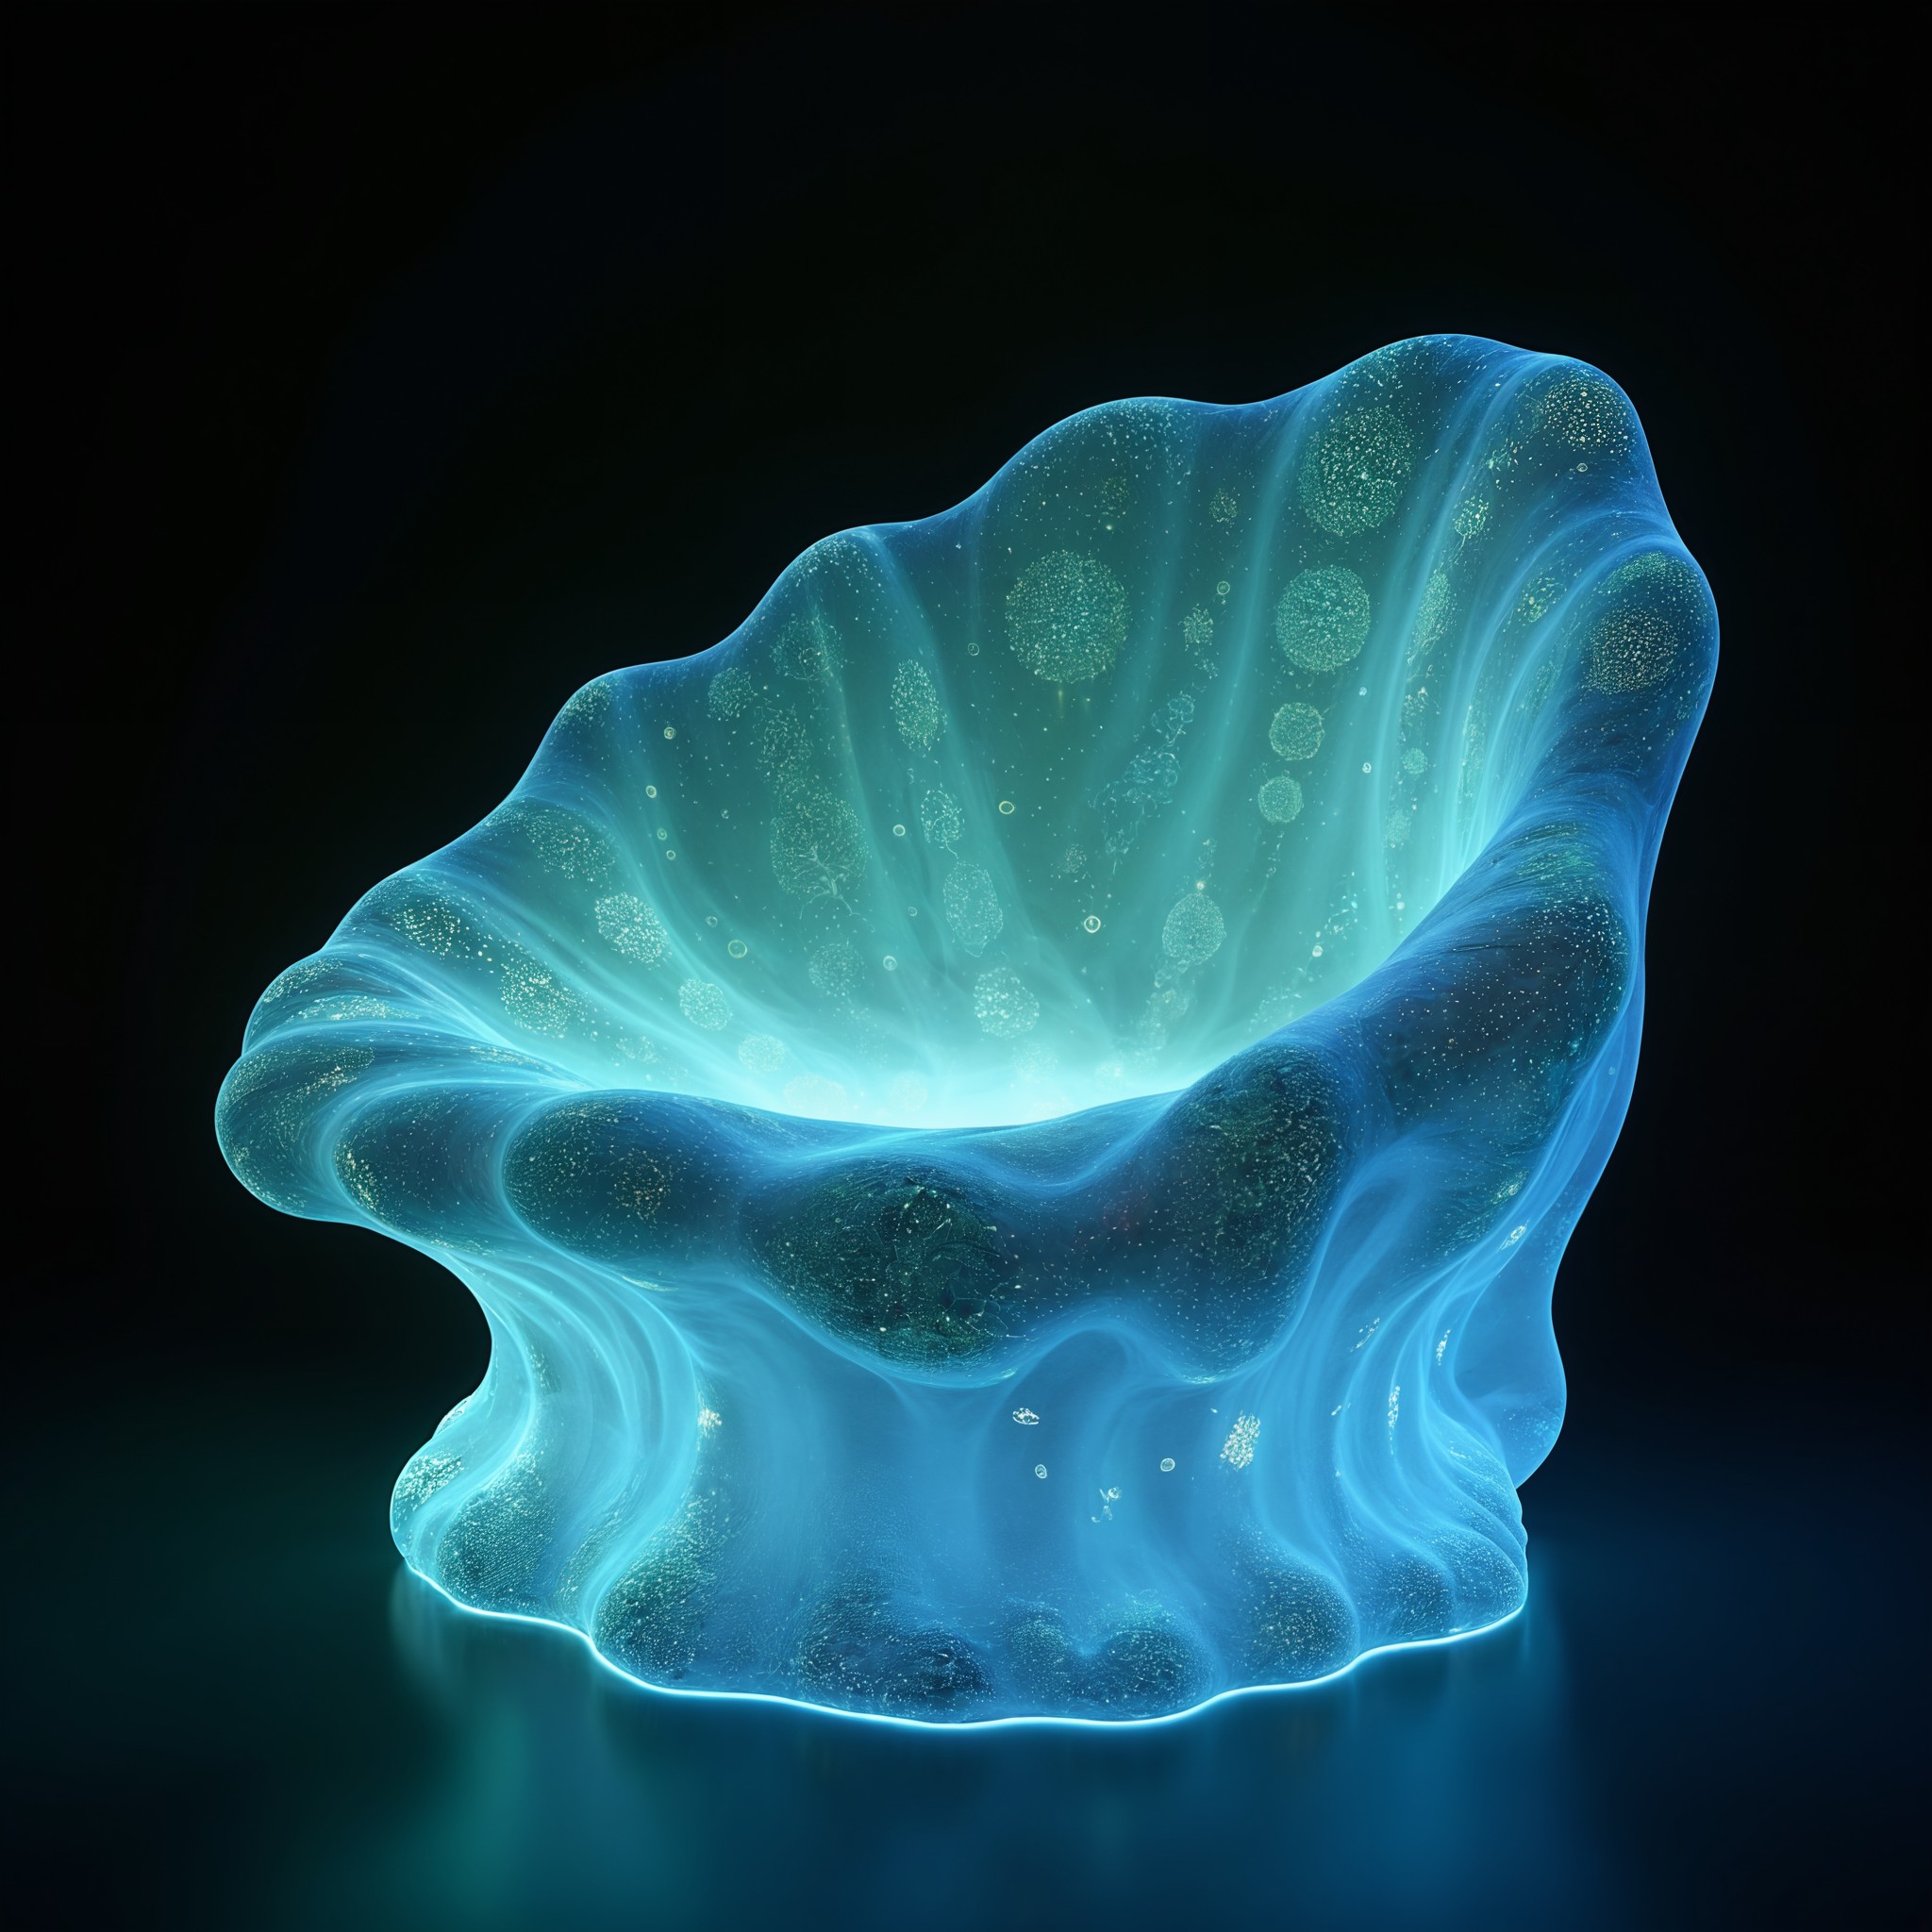
Then you should get an image with the affecting from both the input image and prompt.

You could check bellow PDF to play around for understand the different parameters affecting.
💡Tips
Try to experiment with the images related with your own project.


